Documentation ProcessZoo Lite Setup
Connection Reference Setup
ProcessZoo Lite connects to your Dataverse environment through a single HTTP connection. This page walks through installing the app and wiring up that connection so the app can read and write data on first launch.
Prerequisites
- System Customizer or Environment Admin privileges in your Microsoft Power Platform environment.
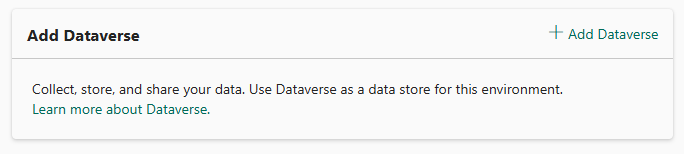
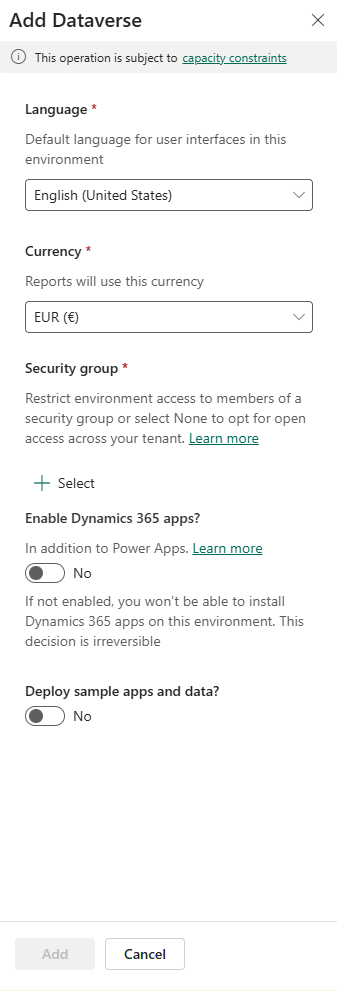
- A Dataverse-enabled environment. If your environment doesn’t have Dataverse yet, add it from Environments → + New → Add Dataverse.
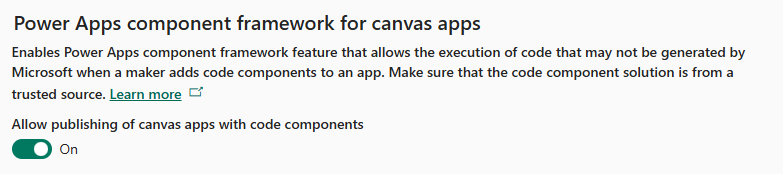
- The Power Apps component framework for canvas apps feature turned on, since ProcessZoo Lite ships PCF components: Environments → processZoo Lite [your environment] → Settings → Features, then enable “Allow publishing of canvas apps with code components.”
- The URL of your target Dynamics 365 / Dataverse environment (e.g.
https://yourorg.crm.dynamics.com).If your target environment was created as a plain Dataverse environment without Dynamics 365 apps enabled, it may not appear as a valid target in that menu.
If your environment is already created without Dynamics 365 apps enabled and you cannot select it in Step 1.2, you will need to create a new Dataverse environment with the Enable Dynamics 365 apps option turned on.
1. Installing ProcessZoo Lite
1.1 Find ProcessZoo Lite
Go to Power Platform admin center → Dynamics 365 apps → Install from Marketplace, and search for ProcessZoo Lite by SCvation GmbH.
1.2 Install into your environment
Click Install, select your target environment (e.g. processZooENV), agree to the terms, and confirm.
1.3 Wait for installation to finish
Installation runs in the background. Status moves from Installing… to Installed — this can take a few minutes.
2. Create & Authorize the HTTP Connection
- Log in to Power Apps.
- Make sure you’re in the environment where ProcessZoo Lite was installed (top-right environment picker).
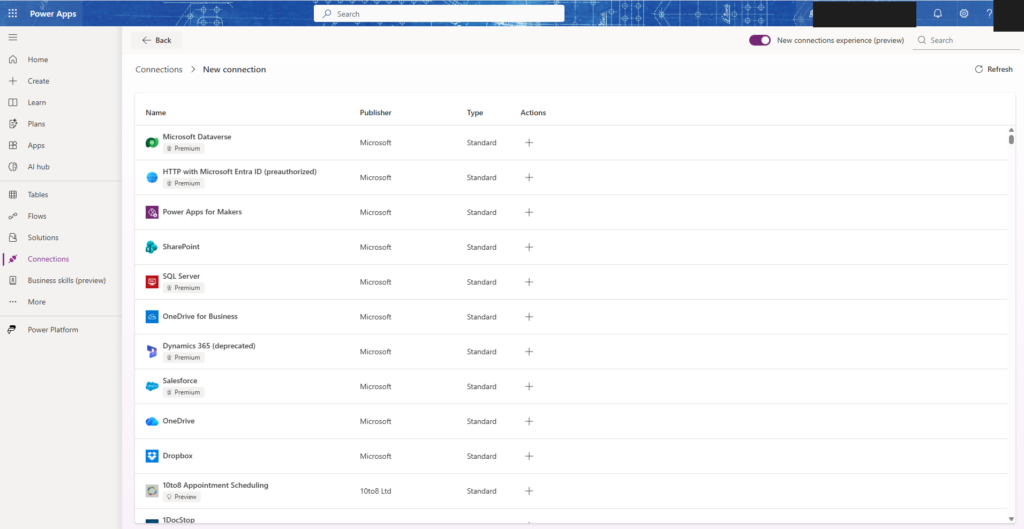
- In the left-hand navigation, click Connections (click “…More” if it’s hidden).
- Click + New connection.
- Search for HTTP with Microsoft Entra ID (preauthorized) and select it.
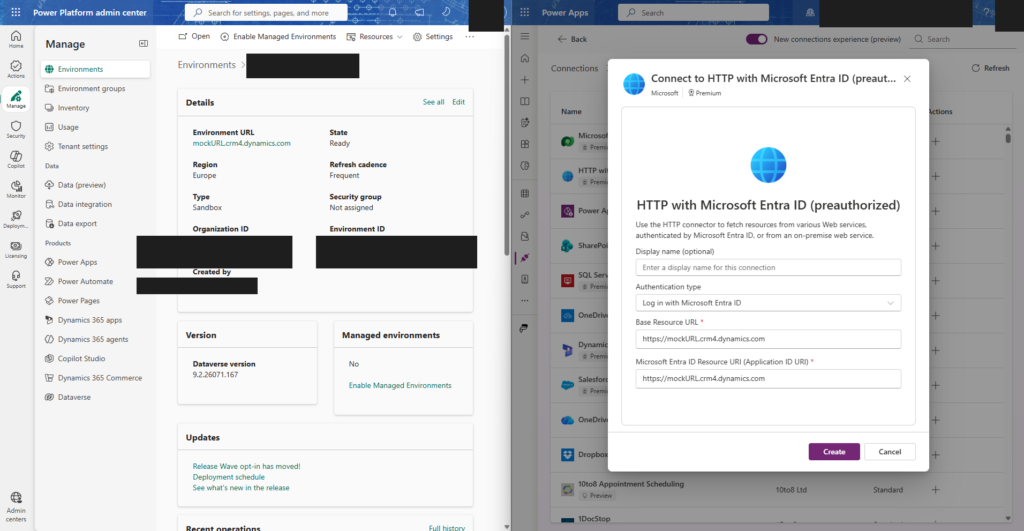
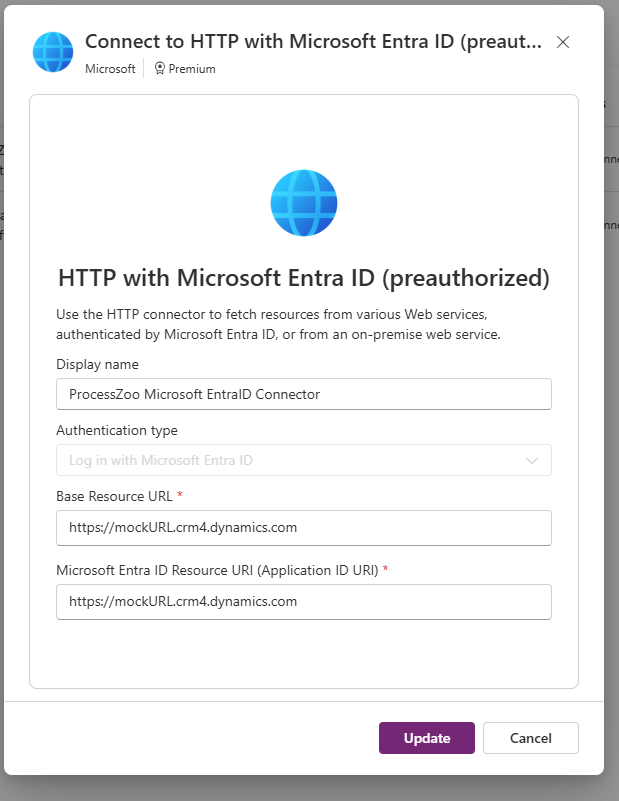
- Fill in the connection settings:
- Display name (optional) — any name that helps you recognize it later, e.g. “ProcessZoo Entra ID Connector.” You can leave this blank.
- Base Resource URL — your environment URL, e.g.
https://yourorg.crm.dynamics.com. Must includehttps://. - Microsoft Entra ID Resource URI (Application ID URI) — the same URL as above.
- Click Create (or Sign in, depending on the connector version) and complete the authentication prompt.
Note:
new_sharedwebcontents_c5711is not something you type here — it’s the technical name of the Connection Reference component you’ll map in Step 3. Don’t confuse it with the Display name field above.
3. Map the Connection Reference
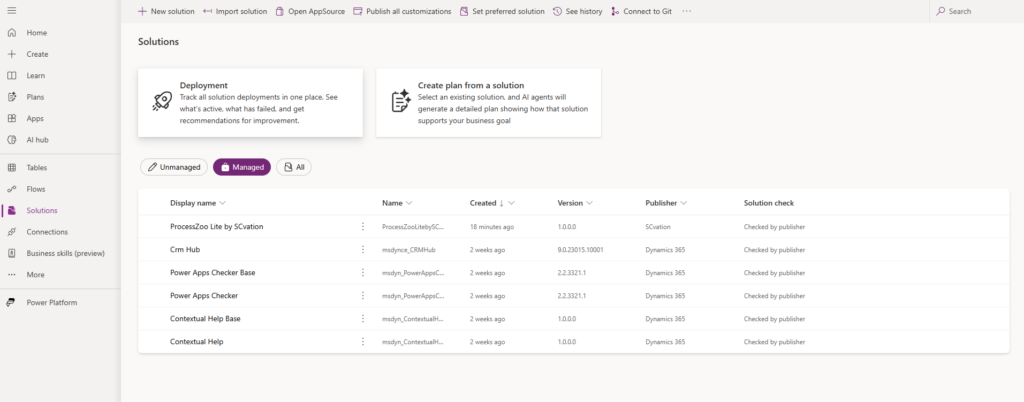
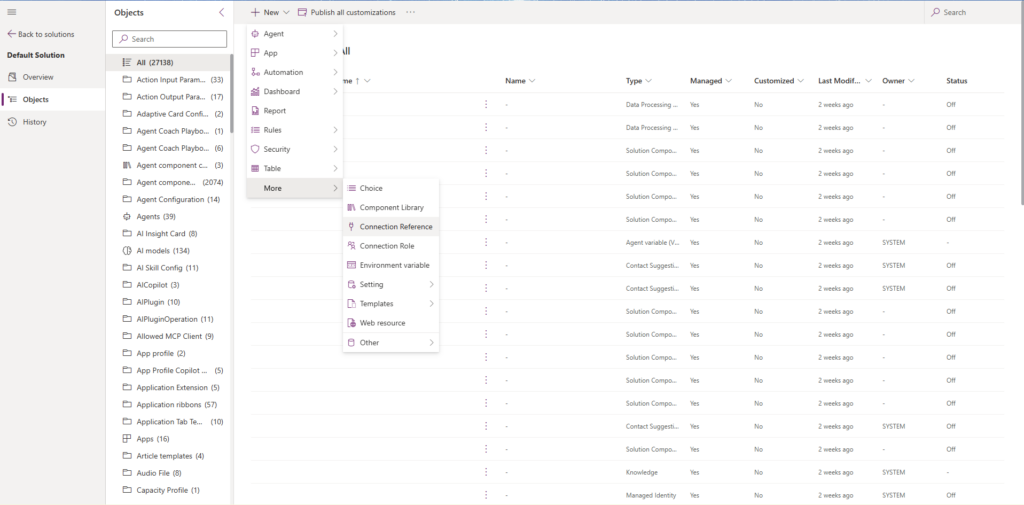
Because ProcessZoo Lite installs as a Managed Solution, you map the connection through the Default Solution:
- In the left navigation, click Solutions.
- Open Default Solution.
- Click Objects, then More → Connection Reference.
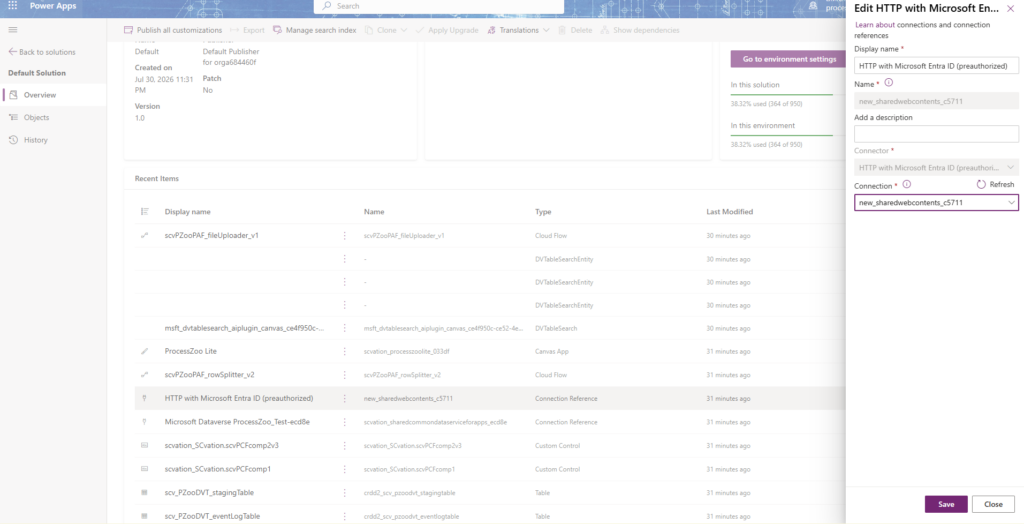
- Locate the connection reference named HTTP with Microsoft Entra ID (preauthorized) (technical name:
new_sharedwebcontents_c5711). - Click Edit.
- In the Connection dropdown, select the connection you created in Step 2.
- Click Save.
4. Configure for Cloud Flows
Return to Solutions and open ProcessZoo Lite by SCvation. Navigate to the Cloud Flows “scvPZooPAF_fileUploader_v1” and “scvPZooPAF_rowSplitter_v2” pages.
For each flow, activate it using the “Turn On” button. After their activation, both flows should have this button replaced with “Turn Off”.
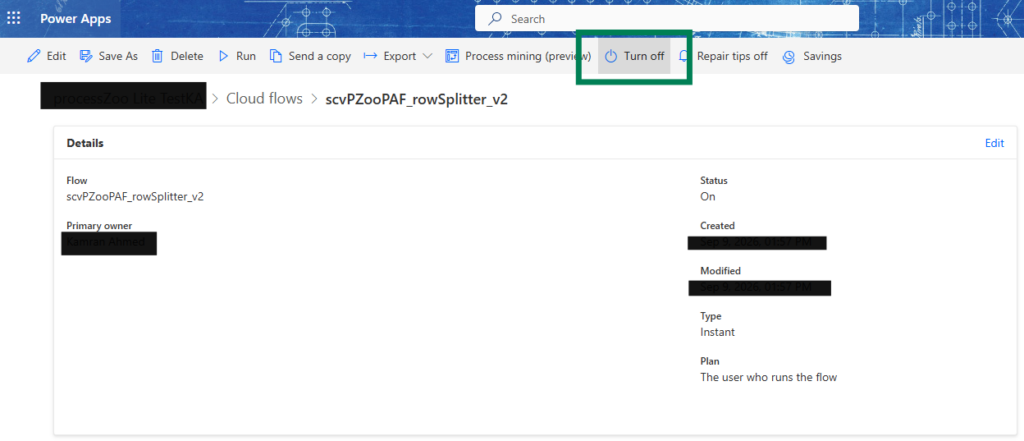
Once this appears, return back to solution page.
Wait for the “Cloud flows are being updated” banner to disappear before continuing — the app’s flows are being repointed to your new connection.

5. Launch the App
- In the left-hand menu, click Apps.
- Click ProcessZoo Lite to launch it.
- When prompted, click Allow to authorize ProcessZoo Lite’s access to your data (one-time step).